The Dead Drop
Here we set the characters to solving a few mysteries about their past activities while closing out the Sigil adventure arc. There are many ways this can play out, but it’s primarily an infiltration encounter.

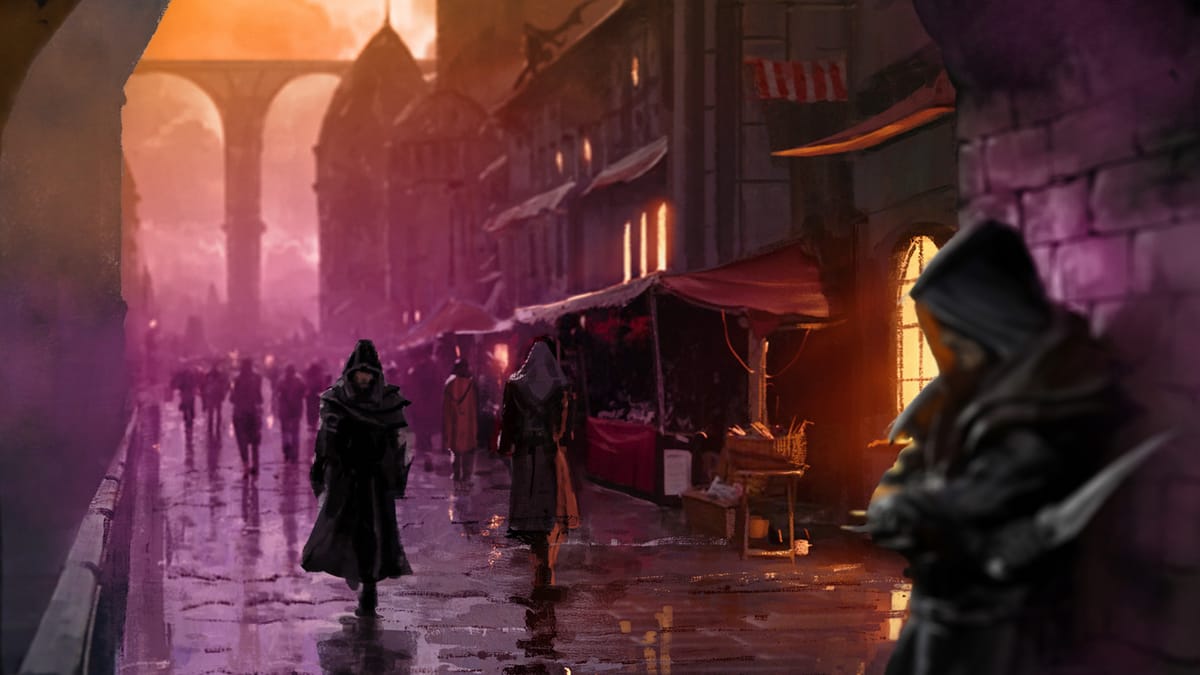
Spiral Hal'oight's dead drop lies in a rundown block in a tough section of the Lower Ward. It’s near the Ubiquitous Wayfarer, so that should be a natural stopping off point for the party. The block holds a handful of derelict buildings and an old church surrounded by warehouses and smithies.
The dead drop for the enchanted weapons is an old shop called Cuckoo’s Corner. It once belonged to a clockwork sorcerer and contains a portal to Automata. This workshop conveniently had another portal to the Frostfell on the Elemental Plane of Air. The proprietor tinkered, made small clockwork devices, and sold carved ice sculptures for a high price. He unfortunately made a predatory loan with the Planar Trade Consortium at the characters’ behest, and the Consortium took over his property shortly after he mysteriously disappeared.
To execute the final weapons delivery in Shemeska’s scheme, the Planar Trade Consortium takes possession of the weapons from Spiral’s runners, falsifies their manifests, then sends them to Automata to be loaded on the Concordant Express. From there the weapons are distributed throughout the Outlands.
The Planar Trade Consortium made an arrangement with the Doomguard to keep watch on the valuable trade route in the derelict shop. The Doomguards have the block on lockdown, only allowing the handlers in and out of the shop.
The characters’ prior incarnations set the whole scheme in motion, and they are the only ones poised to unravel it. If the characters infiltrate the shop and investigate the weapons shipments they will discover that the weapons are not going to the Blood War and instead are being sent all over the Outlands. They may also find the portal to their old workshop.
Infiltrating the Workshop
The characters have a simple task: find out what’s going on with the weapons. They have several ways to prepare themselves.
The Ubiquitous Wayfarer
If the characters go to the Ubiquitous Wayfarer for intel they can talk to Nherid (chaotic neutral, tiefling commoner), a pale tiefling with black eyes. Nherid will lie and say some other berks have been asking the same questions. For a little bit of jink she’ll point them to Wilphesh Gidderskins (neutral, bariaur wanderer).
Wilphesh hasn’t been asking around and gets aggravated that Nherid is stirring up trouble for him (“Dammit, she needs to stop bothering me with all these clueless! How much jink did she get off you?”). He’ll say that he knows the block they’re talking about. It’s mostly derelict buildings where an old basher called Barmy Kank wanders. He’s always raving about something, but no one pays much attention to him.
Barmy Kank
Kank (neutral, human druid) can be found near the block and is often heard before he’s seen. He’s a tanned, rail-thin man dressed in leathers and carrying a staff decorated with bones. He’s originally from the apocalyptic world of Athas and is convinced he’s traveled back in time. He makes loud pronouncements about the future, decrying the end of Sigil and a coming war that threatens existence itself.
Kank lives in an old church near the old workshop. He’s seen people coming in and out at odd hours–he calls them harbingers of the coming war who “wear the skins of the living” and are “dead behind the eyes”.
He also has access to the back alley between the shop and the church. From there one could climb to the second story of the workshop and sneak in that way. Unfortunately the alley is infested with razorvine, which Kank can safely navigate with his druidic magic. He doesn’t mention this to the characters.
Surveillance
The characters can observe the workshop from afar or with magical means. They can ascertain the routes of the patrols and the general number of threats outside the building. Further challenges for infiltration are detailed below.
The Cuckoo’s Corner

The shop is two stories with a basement and is made of wood covered in plaster. The roof is lined with spikes and blades. There is a front entrance and a back door. The rear alleyway is choked with razorvine.
Structure
The shop has ten foot tall ceilings, walls covered in cracked plaster, and warped floorboards. The basement is finished in stone.
Doors
The front entrance is locked and requires a DC 15 Dexterity check to open with thieve’s tools or a DC 15 Strength (Athletics) check to force open. Using a Strength check to force open the door will alert everyone inside and any of the exterior patrols within 90 feet. The rear door is barred shut from the interior and requires a DC 20 Strength (Athletics) check to force open.
Windows
All of the windows are barred on the first level, and the second story windows are boarded up. A crowbar or similar tool can easily pry the boards off of the second story windows. Doing it quietly requires a DC 15 Dexterity (Stealth) check.
Light
The streetside exterior is lit by dim light from nearby lamps. The alleyways and interiors are unlit and dark except for where noted.
Triggered Memory
Upon catching sight of the workshop the procurer character will have a flash of memory.
You see a vision of the workshop lit up with activity. Then a memory of a smiling orc artificer with bright blue eyes shakes your hand and gives you a wax-sealed scroll. Next you see a dark stairwell descending into the earth.
This character has advantage on any checks to uncover the secrets inside the building.
Ground Floor Locations
C1: Exterior
The derelict shop still bears a sign over the door: “Cuckoo’s Corner: Fine Clockwork Creations & Ice Sculptures”. The pillars out front are topped with clockwork animals that are no longer functioning.
The area outside of the shop is patrolled by a captain (neutral, Doomguard Rot Blade) and three Doomguard initiates (neutral, thugs). They circle the block in a casual manner so that one individual covers the block over the course of an hour. Each will pause at the corner near the front door for ten minutes before moving along. It takes five minutes for the next guard to rotate to that spot. When the characters first approach, roll a 1d4. On a roll of one the captain is stationed near the shop, otherwise it’s one of the initiates.
If a fight breaks out it takes one round for the three Consortium agents to arrive from inside the shop. It takes two rounds for two guards to join. The last guard will arrive in the third round. After a minute the Harmonium will arrive, triggering the Harmonium Officers encounter if the characters are still there.
If a character makes a successful DC 12 Wisdom (Perception) check while studying the building they see a dim light between the cracks of the boarded windows on the top floor and the front room.
C2: Entry Room
This vestibule is unremarkable other than the marks of heavy foot traffic. The door to the south is closed.
C3: Client Reception
This was formerly the receiving room where the proprietor would meet clients. There is a small table and worn down chairs here. Three Consortium agents (neutral evil, spys) are there waiting for Beltha to cross over from Automata and meet them for a delivery.
The room is dimly lit with candlelight, and the agents can be heard conversing from the nearby rooms with a DC 10 Wisdom (Perception) check.
C4: Hallway
A DC 13 Intelligence (Investigation) check reveals the marks of heavy objects being recently moved across this hallway and into the basement stairwell.
C5: Store Room
This store room is loaded with shelves containing piles of ransacked raw materials for tinkering and metal crafting. The floor is ankle-deep in debris.
A five minute search and a successful DC 15 Intelligence (Investigation) check will uncover a loose floorboard with a small strongbox underneath it.
Treasure. The strongbox contains 20 gp, 9 pp, a contract for a loan from the Consortium of Planar Trade, and a signet ring (5 gp). The contract outlines a predatory loan with a clause that allows the Consortium to take ownership of the shop if it’s not repaid in full. It is consigned by the procurer character.
C6: Stairwell to the Basement
This stairwell is stonework, except for the metal stairs, and the walls bear unlit sconces. It is otherwise unremarkable except for the trapped door.
Sliding Door Trap. If the first floor door is closed without holding down the latch it will trigger a clockwork mechanism that causes the landing to spring upwards. Anyone near the door must make a DC 15 Dexterity check or fall down the stairwell, taking 12 (4d6) bludgeoning damage and landing prone. Bolts will lock into place from both door jambs until released from the outside, trapping the characters in the stairwell.
A DC 13 Wisdom (Perception) check will uncover the bolt holes and the door switch mechanism if a character searches for traps. A DC 15 Dexterity (Sleight of Hand) check with thieves’ tools will disable the trap. A DC 15 Strength (Athletics) check is required to force open the bolt-locked doors. Triggering the mechanism or breaking down either door will put everyone in the shop on alert. Once triggered, the trap must be manually reset.
C7: Workshop
This was once a thriving workshop, but is now a mess of broken machinery, ice carving tools, and workbenches. Buried in the pile is a tangle of partially assembled clockwork animals. If a character interacts with the pile and fails a DC 13 Dexterity check it will set off a cacophony of whirs, clicks, whistles, and bells from the clockwork contraptions. This alerts the Consortium agents in the workshop.
The rear door is barred and nailed shut. Releasing the door from the inside requires a DC 15 Strength (Athletics) check with a crowbar, carpentry tools, or tinkers’ tools. This cannot be done without alerting the house.
C8: Lavatory
This empty lavatory shows signs of recent use but is otherwise unremarkable.
Upper Floor Locations
C9: Living Quarters
This is a combined living and dining area that is stripped of valuables and contains a few pieces of ratty furniture. There is no food remaining, but it shows signs of recent use.
Two Consortium agents (neutral evil, spy) are here awaiting the next delivery.
C10: Bedroom & Closet
The bedroom contains a musty bed and a broken window. There is a small closet with a broken dresser (Area 10a). It is otherwise unused.
C11: Study
This was formerly the private study of the sorcerer who occupied the workshop. It’s dimly lit with candles and littered with the remains of a hastily moved library and scattered tools. If a character spends ten minutes investigating the room they can uncover enough materials to make up Calligrapher’s Supplies and Tinker’s Tools.
A search will also reveal old manifests for shipments to Curst, Excelsior, Faunel, Glorium, Rigus and Sylvania bearing the fixer and the smuggler characters' names. These were the destinations for the weapons they distributed and the fiends that they embedded in the gate towns.
A high-level operator in the Planar Trade Consortium named Emmo (lawful evil, hobgoblin mage) works at a desk here. He heads the smuggling operation and is busy forging manifests to send the shipments of celestial weapons across the Outlands. He possesses a key to the basement door and a pewter bell that serves as the key to the Frostfell portal in the basement. He also carries five gold bars worth 100gp each marked with the Planar Trade Consortium’s imprint. This is the payment for the next shipments.
Roleplaying Emmo. This operator is extremely efficient and duplicitous. He prepares disguise self instead of detect magic and is always disguised as a duergar wearing a fine dark blue outfit.
Emmo will not attack the characters right away. He comes off as deferential in the extreme, but he has personally killed the characters’ past incarnations. He is not aware of the multiversal glitch and will be quite surprised to see them at the workshop.
Emmo will lure them to the basement and get them to go through the portal to the Frostfell. He will ask leading questions about the next shipment, talk about demon’s blood, etc. to earn their trust. Once he leads them to the Frostfell he will attempt to entrap them and kill them again.
Basement Locations
C12: Locked Landing
The basement stairs open up onto a landing with a locked, reinforced door. Opening the door requires a DC 15 Dexterity check with thieves’ tools or a DC 20 Strength (Athletics) check. Emmo also has keys in his possession.
C13: Portal Room
This vaulted basement is clean and orderly, and crates are stacked against the wall.
The arcanist character will experience a memory walking into this room and will know immediately the location of the portal and the portal key.
A feeling of deja vu washes over you. Fleeting images flash across your memory: the tinkling of a pewter bell, an arch along the far wall glowing with light, and a sudden blast of cold.
The main room of the basement has several crates of celestial weapons (daggers, short swords, long swords, and glaives) stacked and ready for delivery. Forged manifests on the crates list final destinations in the gate towns Curst, Faunel, Glorium, and Rigus.
The Portals. The wall contains three vaulted arches along the stone walls. Two of them are portals to the following locations:
Portal to Automata. This portal connects to an alleyway in Automata. The gate key is a golden abacus bead held by Beltha, but it is currently inaccessible from this side.
Portal to Hidden Cache. This portal connects to an earth mote floating in the Frostfell on the Plane of Air. The key is a pewter bell. The arcanist character and Emmo will have one in their possessions.
Concluding Cuckoo’s Corner
Once the characters have explored the shop and located the manifests they have more clues that will propel them into the Outlands for Part Two of the adventure.
The characters should also find the portal to their hidden cache on the Plane of Air. They can discover this via their memories or by Emmo trying to trap them there.


