Cold, Hard Cache
The characters uncover their hidden cache on a dangerous plane, discover how they were involved in the weapons trade, and find clues that point to a greater scheme in the Outlands.
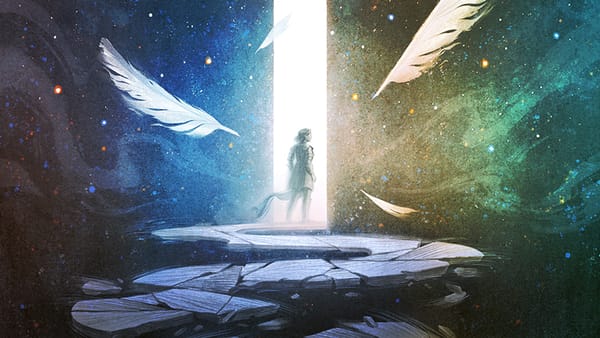
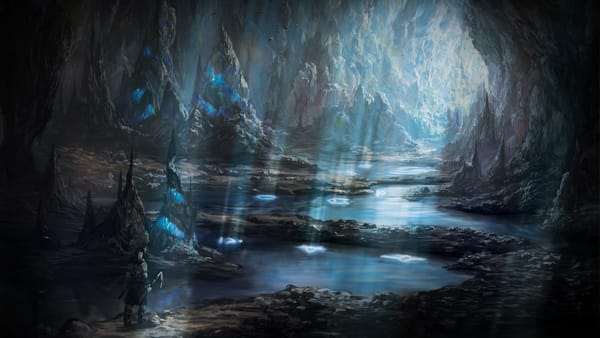
After passing through the portal in the basement of Cuckoo’s Corner the characters emerge on a floating mote of stone and ice high above the Plane of Ice. Ruins of a small keep dot the surface.
You step into a blinding white swirl of snow and ice. Cold like you’ve never felt before tears at your flesh, threatening to freeze the marrow in your bones.
Ancient, crumbling walls encircle you. You’re in the base of a ruined tower open to a howling blizzard. A staircase extends out into more snow-covered ruins.
This earth mote is on the border of the Plane of Air. A mile below is the vast glacial expanse of the Frostfell. Any fall from this height is certain death.
Features of the Floating Ruins
This area has the following features:
Extreme Cold. While in this realm a creature exposed to the cold must succeed on a DC 10 Constitution saving throw at the end of each hour or gain 1 Exhaustion level. Creatures with Resistance or Immunity to Cold damage automatically succeed on the save.
Diffuse Light. This part of the plane is lit with bright, diffuse light. The light glares off of the bright snow and ice, but it doesn’t provide any obstruction to sight or perception.
Deep Snow. The waist deep snow that covers most of the floating mote is Difficult Terrain. The tiled areas within the walls of the tower and the outbuilding are only covered in a dusting of snow and are not Difficult Terrain.
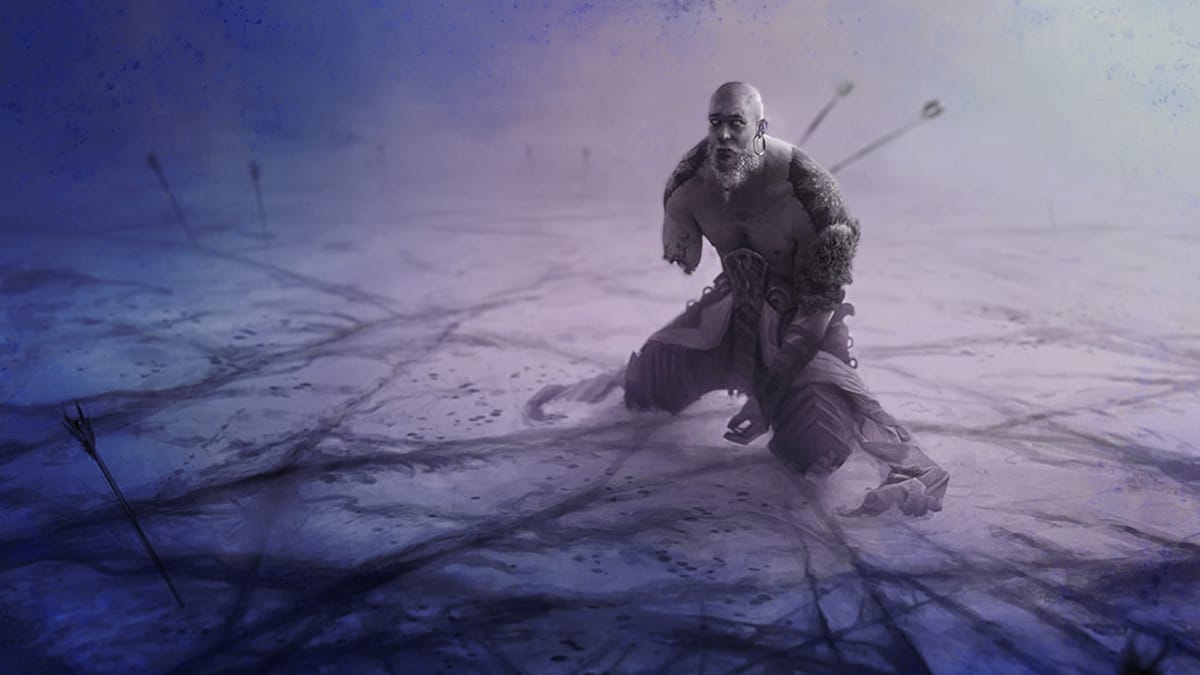
Lurking Danger. A young remorhaz lives in the snow here. Emmo feeds it with fresh victims, but anyone producing a heat source or walking onto the bare ground will attract its attention and cause it to attack.
Floating Ruins Locations
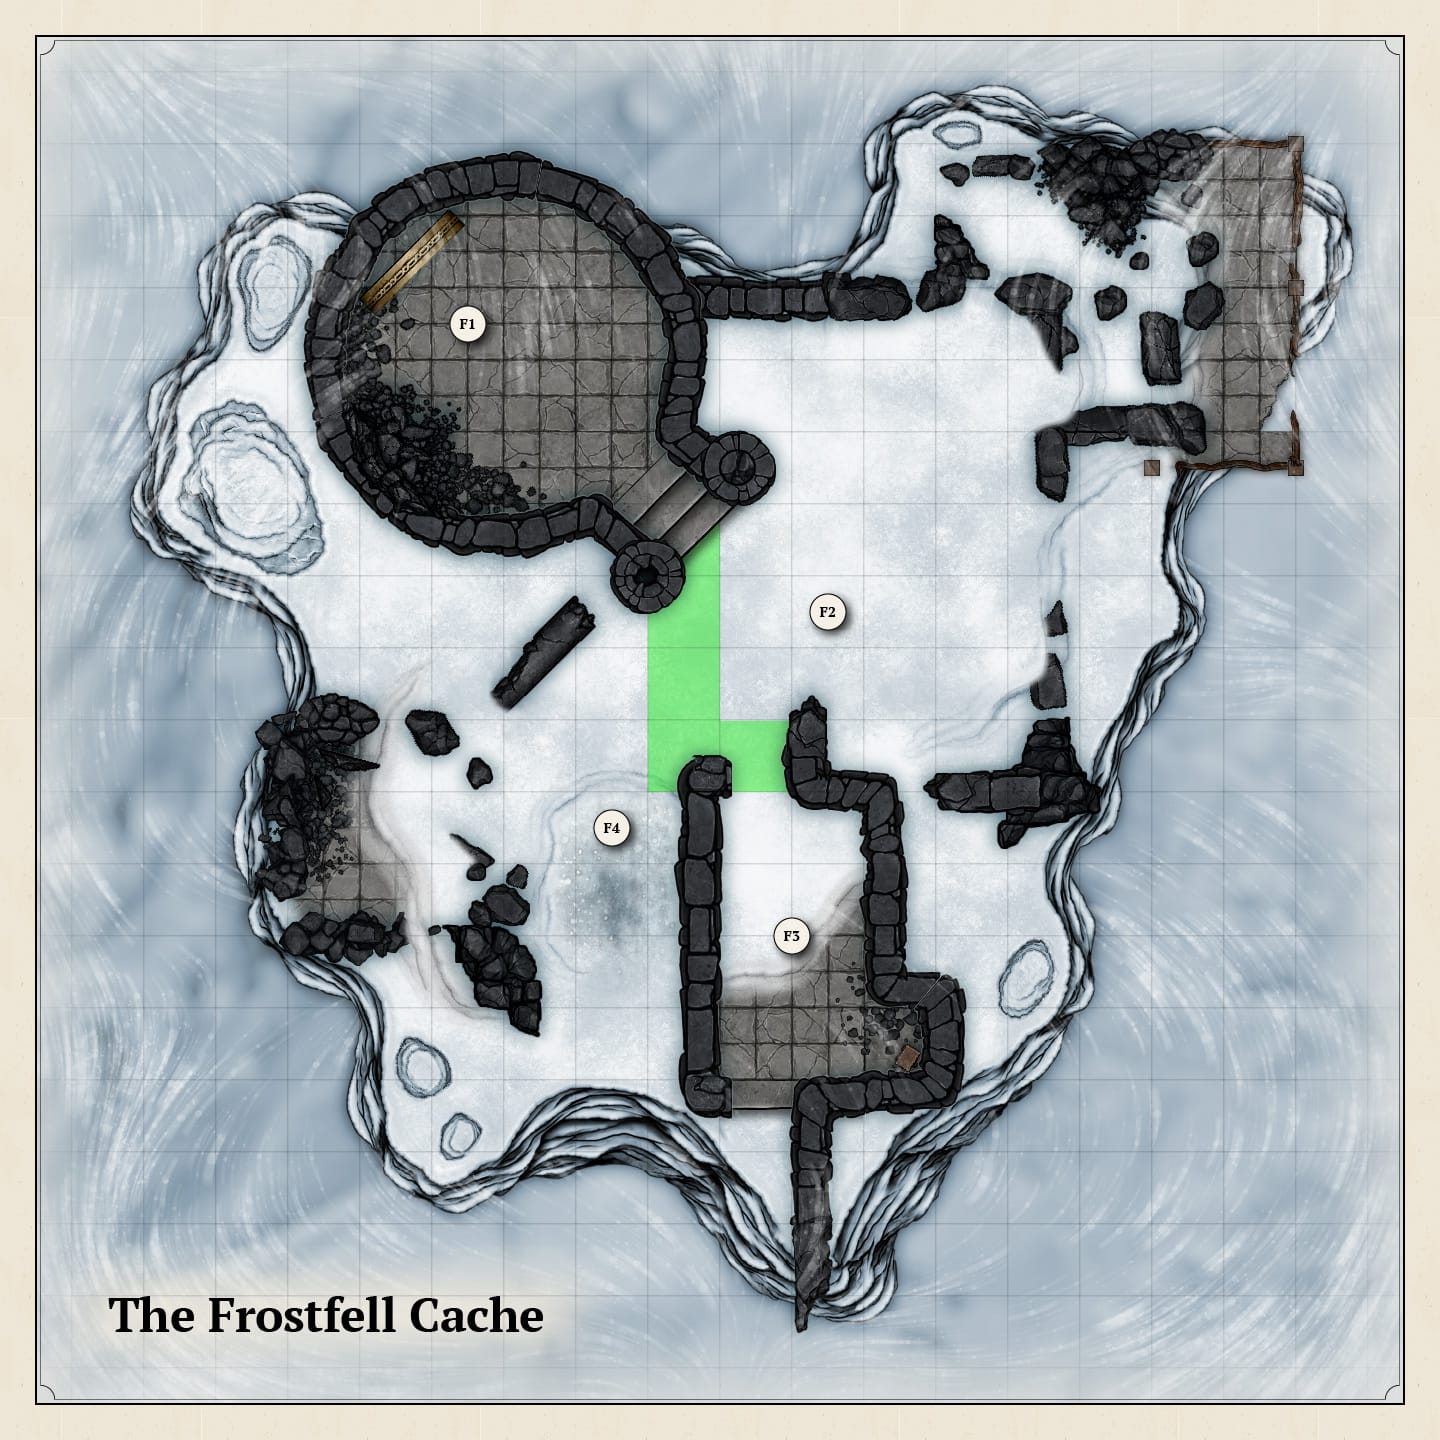
F1: The Tower
The portal to the basement of the Cuckoo’s Corner opens from a carved archway that is still intact. The tower’s walls are reduced to a ten foot tall shattered ring, and the staircase that spiraled along its inner curvature is now rubble.
F2. Courtyard
The snow piled up in this open space slopes downward to the edges of the earth mote. The ruins of small buildings lie to the northeast and southwest. The broken walls provide half cover, and the remorhaz cannot burrow underneath the worked stone floors.
The arcanist character will have a clear flash of memory upon stepping out and seeing the outbuilding. They will remember lifting a tile in the back corner of that building and securing valuables underneath it.
Hidden Danger. There is a fallen pillar buried in the snow that cannot be seen from the tower (marked in green on the map). It provides safe passage to the outbuilding and hides any character walking there from the remorhaz’s tremorsense. A DC 15 Wisdom (Survival) check will reveal the impacted tracks of a medium humanoid walking along that path to the outbuilding.
Anyone stepping outside of the safe path will make the buried remorhaz immediately aware of their presence, and it will attack. The characters will be surprised and the remorhaz will have advantage on initiative.
F3. Outbuilding
This ruined building has eight foot tall crumbling walls that provide some shelter from the blasting winds. The southeast alcove contains a strongbox that holds a supply of Fiend’s Ichor. Underneath that is a loose tile that contains the characters’ hidden cache. The arcanist character will remember the cache, but it can also be easily spotted by and of the party members that interact with the strongbox.
Emmo retrieves the ichor from here and has it ferried to Tripicus, but he has not discovered the cache. He spends as little time as possible here so as not to freeze to death or get caught by the remorhaz.
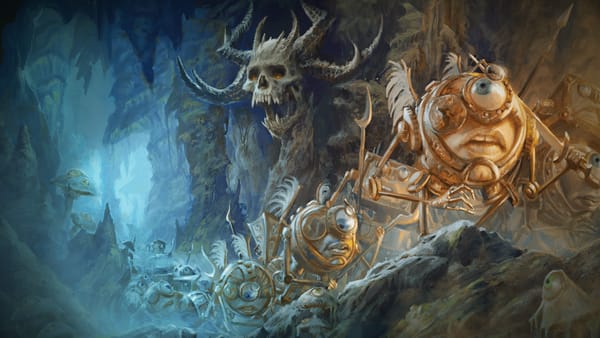
Strongbox. The strongbox here holds a dozen flasks of black Fiend’s Ichor. This vile material is harvested from Arlgolcheir’s remains in Gzemnid’s Realm and is kept here where the freezing temperature renders it inert. When it thaws it has the following properties.
The Hidden Cache. The tile below the strongbox hides a cache of scrolls and tomes in a wooden box. Unfortunately, the runoff from the ichor has leaked into the cache and ruined much of the writings. A character must succeed on a DC 13 Dexterity (Acrobatics) check to carefully extract the materials. If they fail they take 2d8 necrotic damage from the ichor.
Here’s what can be found in the cache:
- Spellbook. This is a mostly ruined backup copy of a wizard incarnation’s old spellbook. Let the incarnation’s player select five total levels of spells that their character would have known. Those can be found intact in this book, and they can copy those spells into their own spellbook. They can also see fragments of various high level spells, including mass suggestion, but those cannot be copied. If there is no wizard among the incarnations, pick the character most likely to have a wizard incarnation.
- Magic Item. Here we can place a rare magic item as a reward for completing this arc. It should be something that is tied to one of the characters in a way that goes beyond a random treasure drop. This is a great opportunity to bring in something from a character’s backstory that doesn’t necessarily fit into this part of the adventure.
- Tattered Notes. This cache was more than just a secure hiding spot for the Fiend’s Ichor. The fixer character used this dangerous locale to hide the plans for their grand schemes. Unfortunately for the current characters, the bulk of these notes and journal entries are ruined by the ichor that dripped into it. Once they have time to investigate the materials they will find the information described in "Tattered Noes" below.
F4. Frozen Grave
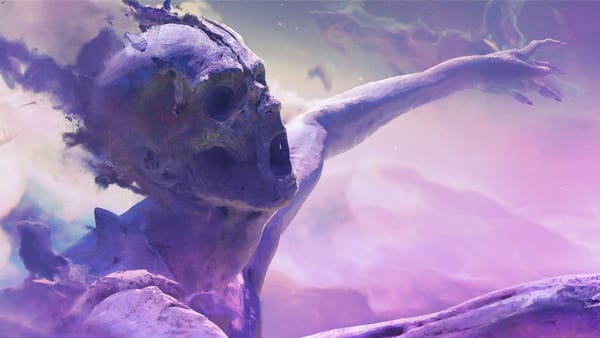
This dirty icy mound rises above the snow banks and is easily spotted from the ruined tower. Anyone approaching the outbuilding or coming within ten feet of it spots a pale humanoid face just beneath the frozen top layer.
A cursory investigation reveals the frozen body is one of the character’s incarnations! Their companions’ bodies lie beneath them. Unknown to them, they previously investigated this cache and were killed by Emmo. He piled their bodies up here for the remorhaz to slowly devour–like a stash of frozen mice for a snake.
If the characters interact with the mound give them a beat to take in what they see then have the remorhaz attack from under the snow.
Blood on the Snow
There are many ways to trigger the remorhaz encounter, but Emmo is banking on it. He will wait for the monstrosity to emerge before turning on the characters. If all else fails he'll trigger the attack himself. Emmo will use his spells strategically and hinder the characters as much as possible, but he will escape through the portal if he's confronted with superior numbers or firepower.
Tattered Notes
These are the legible snippets in the fixer’s journal. The purpose of this is to open up the backstory enough so that the characters have an idea of their mission. They should walk away thinking they were out to take down Asmodeus, which is technically true. This will also seed adventure hooks that propel the characters toward finding R04M and discovering what is happening in the Outlands.
The operation is coming together better than we could have hoped. Between our hard work and the benefactor’s resources, the Tenth Lord is poised to sunder the Hells and tear Asmodeus down from his throne…
…was right. We only needed to enspell a fraction of their leaders for the rest to fall in line. Channeling the power necessary for a binding mass suggestion is taxing, but there is little disruption so far…
…The Outlands, as they call them, inherently possess a great deal of tension. There is balance in opposition, but a little pressure on the scales is all it takes…
…one very enthusiastic modron called “R04M”. I’m not sure what to make of him, but something tells me he could be a loose end. We don’t want to unnecessarily eliminate him…
…constantly amazed that the power of belief produces tangible results. Maybe the Seekers are onto something. Could this be what so many have striven for and failed to achieve? The secret to apotheosis!
Recovered Reports
There is a collection of progress reports and letters marked with the names of gate towns. This is a great opportunity to tie the activities in the individual gate towns to specific characters. The following snippets can be recovered.
Automata
…transportation out of Automata is in Beltha’s hands. She’s very unconventional…destabilizing the order there very well…
Curst
Valder delivered on time and without a hitch. If circumstances were different I could see bringing him into the fold, but we must keep the circle tight…
Excelsior
…secured the supply lines with Sincerity. Solid and self-directed so no worries there. Changle, however, is having some doubts…
Faunel
…need to keep a close watch on Faunel. Mick is a wildcard, but we’ll see what happens when the weapons arrive…
Glorium
Glorium is perfect. The warriors here are practically begging for a cause. We initially dismissed Grakenok, but we’ve come up with a rather mind-bending solution…
Rigus
…prime candidates are Zot and Sotu. Like Glorium, the forces arrayed here are well suited for the coming war, but with even more discipline. All it takes is a little push…
Sylvania
…they’ve introduced us to a rather unusual associate. I thought this place was chaotic enough, but when you’re dealing with literal devils you can’t eliminate any options…
Concluding the Arc
Once the characters find their cache and exit the Frostfell they will have some answers about their past incarnations' activities, have more questions about the scheme to bring Gargauth to power, but possess major clues that point them to the next leg of the adventure.
They’ve also been all over Sigil and made potential enemies of more than one player in the politics of the city. We are now setup to spring the Harmonium Officers encounter and light a fire under them.
Off the Rails. What if they don’t take the bait for the Frostfell excursion or do something heinous enough to warrant triggering the Harmonium encounter earlier? The characters should still be actively engaged with their clues and want to find hard answers. If all else fails, you can improvise an introduction to Koe or Estavan of the Planar Trade Consortium to point them here. Even Shemeshka herself could task them with investigating the cache (to set them up).
If your campaign goes so far off the rails or this never clicks with the players, then what? At the end of the day, none of this information is absolutely critical to continuing the adventure, but it does provide character depth and motivation.