Chapter 9: Glorium Part 2
Saving Glorium from Gargauth's grasp will involve a tense race against time to unravel a fiendish plot before Glorium and Grakenok erupt into hostilities.

We've spun the Glorium scenario into a psychological mystery. Let's expand on what happens when we ratchet up the heat.
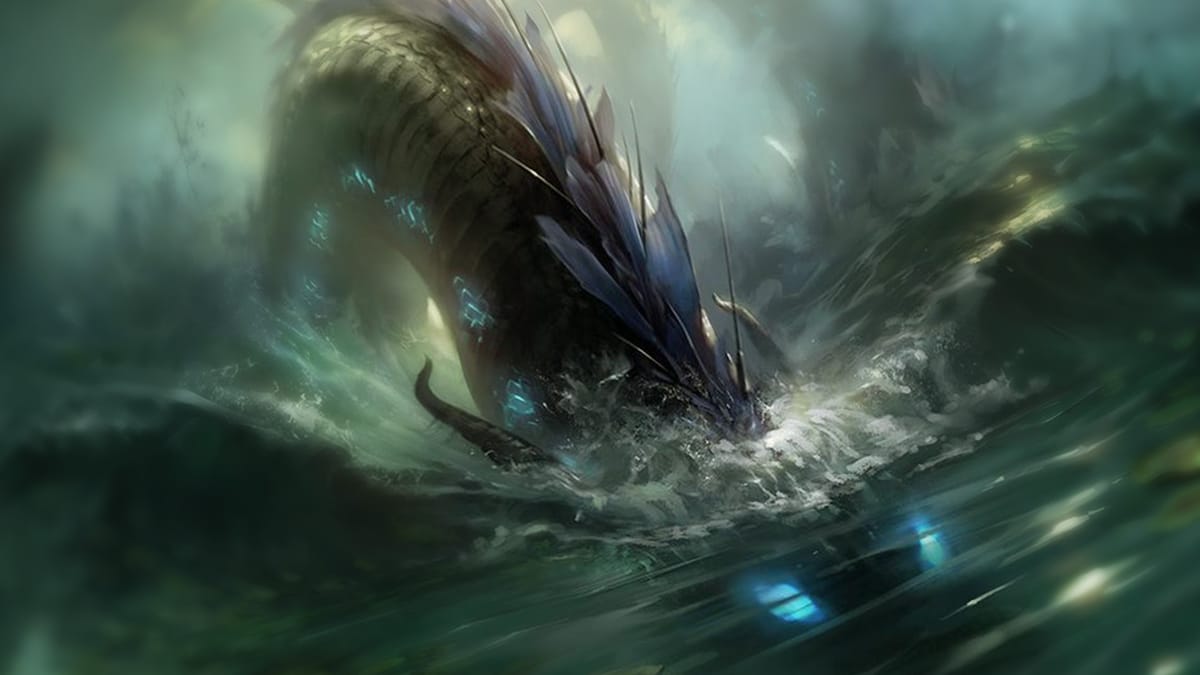
Whirlwyrm Attack
When the characters set out towards Grakenok or the inner fjord after investigating Glorium, have the whirlwyrms attack as written in the adventure.
Alternatively, trigger an attack on the docks once the characters have explored Glorium and are looking to rest or retreat. A dozen whirlwyrms will attack while the town rallies to fend them off.
Bkol will run toward the docks, yelling for the characters to join him. He'll gladly pilot the Courier with the characters on board to draw out the two whirlwyrms nearest them.
If the characters don't join in the defense of Glorium, describe a scene of terrible losses and narrow victory. Afterwards the members of the town will regard them as cowards and react to them with hostility and disdain. After a long rest and a bout of drinking the townsfolk will forget that the characters didn't help.
Once the battle has subsided, the character with the highest Perception will see the remaining whirlwyrms retreating toward the inner part of the fjord, away from Grakenok.
If the characters venture toward the inner fjord run the Neruthis's Lair encounter. If they head back to Glorium run Boiling Over, and if they travel towards Grakenok run the modified Attack on Grakenok.
You can find battle maps for the docks of Glorium or Grakenok in Tessa Presents 82 Maps for Planescape: Turn of Fortune’s Wheel.
Boiling Over
After the whirlwyrm attack the town regroups at the House of Glory. There Sytri and Tol will rally the townsfolk to make an assault on Grakenok.
If the characters intervene, have them make a series of three DC 18 Charisma checks. They can use Performance, Persuasion, Intimidation, or Deception skills if they role play this interaction particularly well.
Three successes will call off the assault for now. Two successes means they buy a reprieve until morning. This will give them time to find evidence that Grakenok is not behind the attacks. One success means the town still go on the offensive, but with much reduced forces.
Attack on Grakenok
If Sytri and Tol assault Grakenok it becomes a race similar to the written Saga of the Whirlwyrm scenario. The characters should have already met Tyrza at this point, but the Perils at Sea encounters are still valid.
Once the characters arrive at Grakenok run the Beast of Grakenok as written except add a small group of spined devils assaulting Grakenok as well. They are there to stir up hostilities and tip this battle into all out war. Add as many as you need to balance out the difficulty for your players and make this a harrowing encounter.
Sytri and Tol will focus on the elder whirlwyrm. If the characters succeeded in persuading some of the forces of Glorium to stay back, Sytri and Tol will fight as normal. If they failed, the warriors are there, providing the Help action for all of their attacks.
Regardless of the forces arrayed at Grakenok, the characters should see the fiendish rage overtaking the fighters of Glorium and Grakenok as they fight off the whirlwyrm and spined devils.
Victory at Grakenok
After the whirlwyrm is defeated a group of spined devils will retreat to the inner fjord. The characters will be able to persuade the towns not to fight if they explain that the whirlwyrms attacked both towns and the devils are not allied with either group. They should be able to easily track the devils to Neruthis's Lair.
Neruthis's Lair
Neruthis (NE, hydroloth) is planning on this being the assault that tips the scales of hostility into war. If the towns do devolve into outright war, the respective leaders will fly into a rage. They will be inconsolable and literally hellbent on the destruction of each clan.
Failure means Tyrza will make a pact with the Hidden Lord for military might, and Gargauth will obtain a formidable general for his army. This is all preventable if the characters can stop Neruthis before she completely corrupts the towns.
Shipwreck Cove
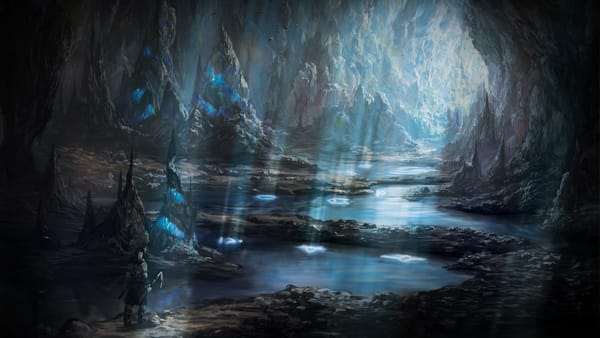
Neruthis has established a lair in a shipwreck (that she caused) on the innermost part of the fjord. She rests below the waters while the spined devils nest above, keeping lookout.
The cove is beset by a gloomy storm churning the waters of the cove. The water is difficult terrain, even for skilled pilots, and safely docking a vessel requires a DC 18 Wisdom (Survival) check. A failure results in the vessel taking 3d10 bludgeoning damage and running aground. A DC 20 Strength (Athletics) check is required to push a vessel back into the water while the storm rages. If Neruthis is killed the storm subsides.
Balance. Neruthis is a formidable opponent, but depending on your party's level, you can adjust the difficulty by changing the number of spined devils that aid her.
Maps. There's tons of great maps for this type of encounter available. Here are a few I recommend:
• Harpy Cove by Czepeku
• Forgotten Shipwreck by Silver Compass Maps
• The Driftwood Cove by 2 Minute Tabletop
• The Beach Wreck by Kos Maps
Slippery Devil
The spined devil lookouts will spot anyone approaching from 300 feet away. Neruthis will swim toward the characters, recognize them, and attempt to communicate telepathically from the safety of the deep.
Neruthis made a bargain with Gargauth, facilitated by the characters, so she is bound to his will. She is indifferent but will hear out the characters. She will grow very suspicious if their narrative doesn't line up with their past incarnations.
Neruthis will acknowledge that they summoned her to do the Tenth Lord's bidding, but will not change course. She will continue to wipe the memories of the townsfolk and incite war between Glorium and Grakenok. If the characters interfere with her schemes or command her to abandon her mission she will grow hostile.
In combat Neurthis will attempt to use her Steal Memory, control water, crown of madness, fear, and suggestion abilities to compromise the characters' position while the spined devils harry them.
Treasure. If the characters investigate the shipwreck they will find the bones of sailors, 4 bolts of linen worth 250gp each, 1,000gp piled in a waterlogged chest, a Cloak of the Manta Ray, and three Potions of Water Breathing–the spoils of recent attacks.
An oilskin contains an infernal contract binding Neruthis to Gargauth until the towns of Glorium and Grakenok have erupted into war.
There is also a jug filled with the brackish waters from the River Styx. Anyone drinking the water will forget the past day. There are five draughts left in the jug.
The spined devils' nest contains several skeletons, picked clean. There's an enduring spellbook in the nest with an assortment of spells, some of which would be beneficial for your party's wizards.
Heroes' Return
If the characters head to Neruthis's Lair before Grakenok or right after the whirlwyrm attack, they will find out that there is a full on assault. You can then run Attack on Grakenok.
Conclusion
If the characters return to Glorium with proof of Neruthis's involvement and have defeated the elder whirlwyrm at Grakenok, Tyrza takes a moment to process everything. If they discover that the mead is poisoned with the waters of the River Styx she will immediately vow to abstain until they've rooted out all of the tainted mead.
The characters also have the opportunity to explain the corrupted celestial weapons or investigate the suppy lines if they have not visited Automata.
Tyrza will still throw the feast and reward them as described in the published adventure.


