Chapter 4: Into the Outlands
The Walking Castle scenario is a great introduction to the Outlands and beyond. It’s fun, flavorful, and the battle with the fiends is interesting and challenging. There’s only a few tweaks we need to make to bolster the rest of the adventure.
Arrival in the Outlands
I would forgo the Arcana check necessary to identify the Spire and Sigil floating above. The characters should have gotten enough Sigil 101 from Parisa or any of the NPCs they interact with to put the pieces together on that one.
If a character succeeds on the Wisdom (Survival) check to identify the castle tracks by 15 or more they also identify a series of tracks from medium-sized creatures. Some wear boots and others are clawed. These are the tracks left by the tieflings, Arcis the incubus, and the mezzoloths. Thlaarsh can fly and doesn’t leave tracks.
Optional Encounter: You Herd It
If the characters are veering off course, if you want to enhance the weirdness and danger of the Outlands, or give your nature-focused characters a chance to shine here’s an optional encounter you can run on the way to the walking castle.
Once the characters are thirty minutes into their journey and they enter the magenta forest, set the stage:
As you wind your way between two craggy hills, the ground suddenly lurches and a deep BOOM rips through the valley. Flocks of strange birds explode into the sky.
Then everything is suddenly quiet but for the magenta leaves wafting to the ground. You can hear your heart thundering in your body–wait–that’s not your heart. The ground rumbles, growing louder and louder. It's coming from the direction of the boom! What do you do?
The characters just felt the walking castle crash violently to the ground after being attacked by Thlaarsh’s raiding party. This incited panic in a herd of Ghenna-touched horses and their leader, a ferocious Ghennian unicorn. These horses have coppery, coin-like scales instead of hide, sharp eye teeth, and wild amber eyes.
Roll initiative, with the herd rolling initiative together with a +2 to the roll. The characters have two rounds before the stampede is upon them. The herd appears in one round and moves at 120 ft. per round. If a character succeeds on a DC 13 Intelligence (Nature) check they identify it as an approaching stampede.
The characters are boxed in by the craggy hills, which are 150 feet away on either side. The stampede effectively fills the entire area of this gulch. The characters can climb the magenta trees up to a height of twenty feet.
When the herd hits the characters, the horses have no mind for the characters and will run them over. Any character caught directly in the stampede must make a DC 14 Dexterity saving throw, taking 11 (2d6+4) bludgeoning damage and being knocked Prone on a failed save or half as much damage on a successful one. A DC 15 Wisdom (Animal Handling) check will divert the herd away from that character and allow them to take half damage on a failed save or none on a successful save.
The stampede lasts three rounds and any character caught in the herd must repeat the Dexterity save at the beginning of their turn. If they are Prone they roll with disadvantage.
A character who climbs the trees to safety is still rocked by the chaotic passing of the herd. They must succeed on a DC 12 Dexterity saving throw or be shaken from the tree and fall Prone into the passing herd.
Once the herd has passed the characters can easily tell that the herd was fleeing from the loud boom.
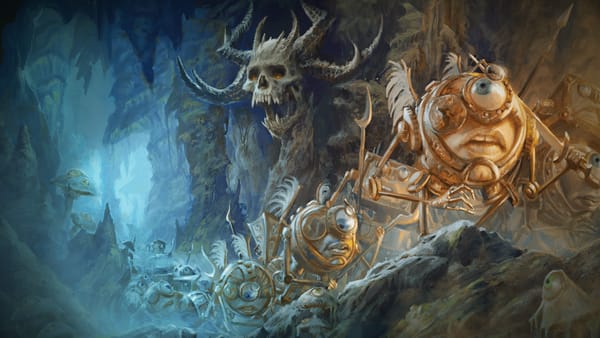
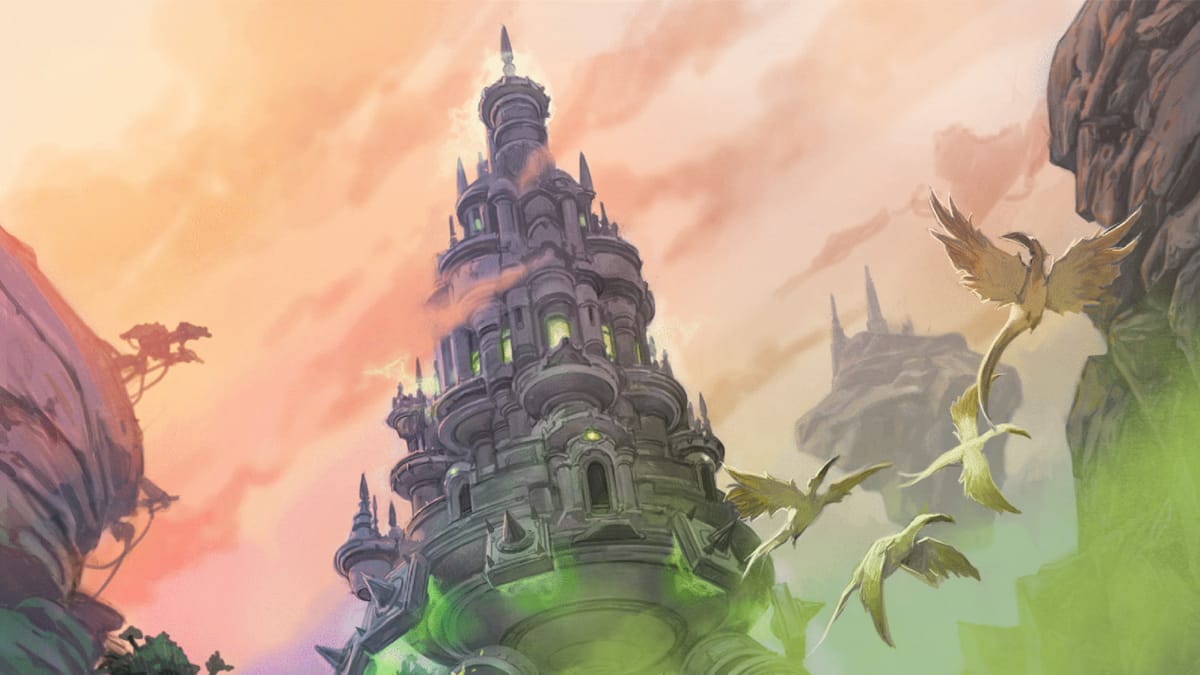
The Walking Castle
We are absolutely picking up the thread that the fiends attacking the castle are hired by Shemeshka through intermediaries. They are after R04M, and if Shemeshka can get a nice two for one and kill the characters yet again, so be it.
The fiends were just sent from Automata after being armed by Beltha with the corrupted celestial weapons from Sigil. Beltha doesn’t have any personal stake in finding R04M, but her contacts with the Planar Trade Consortium gave her a bit of extra garnish for passing the job onto Thlaarsh. She knows it would stir up a bit of chaos, and she stood to profit from it.
The fiends are now corrupted by the weapons. The celestial weapons are effective at killing other fiends, but they also allow Gargauth to speak to the wielders if they bear fiendish blood. He whispers promises of power and conquest if they follow the Tenth Lord, slowly bending them to his will and capturing their hearts. This is how he builds his host of followers while turning the tides of the Blood War and warping the Outlands.
Thlaarsh, the mezzoloths, and Arcis the incubus, all being pure-blooded fiends, are now zealous followers of the Hidden Lord. The tieflings feel Gargauth’s pull, but they are not completely won over. If the characters succeeds in convincing them to betray their allies, one of them will hear Gargauth making a better offer and they will attack.
W2: Library
Have the candle of invocation here be attuned to the Outlands. Why would you need a candle attuned to the place where it’s discovered? So you can get back, of course! Let this be get out of jail free card or a one time jump to a difficult to get to gate town that the characters can use later on.
Library Portal
One big thing I’m changing about this part of the adventure is that Sigil is not cut off from the characters once they reach the Outlands. I’m placing a portal to Sigil in one of the bookshelf arches. There are minor restrictions so that the journey is a planned part of the day and not just an easy back and forth.
The portal key is a lit candle held high, but the portal is only active for one hour at midnight. The portal destination rotates, seemingly randomly. The characters can return to Iedcaru from any of the arrival points in Sigil under the same timing restrictions. Roll a d8 or pick one of these locations when the characters use it.
| d8 | Destination |
|---|---|
| 1 | The characters emerge among the dusty rows of records in the Hall of Records in the Clerk’s Ward. This section is filled with recordings of esoteric speeches from prominent scholars of Sigil’s past. |
| 2 | The characters appear before Althax Darkfleece in the study at the House of Rehabilitation. She is engaged in research on negative planar magic. |
| 3 | The characters emerge in the Hall of Concordance where the inevitables write their sacred gold contracts. They stand before a locked room containing a multitude of contracts. A kolyarut will promptly escort the characters out. |
| 4 | The characters emerge out of the front door of the Parted Veil onto Forgotten Lane in the Lower Ward. |
| 5 | The characters emerge from the broken bookshelves of an old squat in the Hive Ward. “Burn It All!” is painted across the spines of the rotten books. The Hands of Havoc sometimes use this locale as a safe house. |
| 6 | The characters emerge from an archway outside the Great Gymnasium. The wall behind them bears circular wheels carved with epithets on mediation in a multitude of languages. A handful of the Transcendent Order sit in a row before them, meditating. |
| 7 | The characters emerge from the arch of an outbuilding in the courtyard of the Shattered Temple. The building contains a hearth and a pile of religious texts burns within. |
| 8 | The characters emerge from a book stall setup in the Great Bazaar. The celestial proprietor is quite annoyed and wants the characters to buy something or begone. |
Zaythir
Most of Zaythir’s motivations and knowledge work with the changes in this adventure remix. Here are a few alterations, outside of the mimir no longer being connected to R0AM, that she can speak to.
- R0AM visited her to find out more about the Harbingers of the Tenth Lord and the Great Modron March.
- Supposedly, the Harbingers were demi-god like beings who promised to lead a group of modrons who had lost their path and help them complete the March under the auspices of the Tenth Lord.
- R04M was from this group and had made his way to the Outlands by way of Sigil. He was quite paranoid and afraid to give any details of his time there.
- Zaythir helped R0AM plot some of the locations that were visited in the last March that he had not made it to. These are the gate towns the characters need to visit.
- R0AM set off from the castle a few weeks back, but didn’t want to say exactly where he was going (and rightly so!).
The Mosaic Mimir
When Zaythir mentions the Great Modron March the mimir will suddenly rise in the air with a spark of light in its eyes, a sign that it has information on the subject. Zaythir will kindly ask if she can inspect it, and if she does it will speak:
“I am a mimir, a magical device designed to provide information–”
“Yes, yes, we know this,” Zaythir interrupts. “Tell us what you know of the March.”
“The last Great Modron March was a success– [glitch noise] the last March failed to– [glitch] –was scheduled to pass through Automata [glitch] Curst [glitch] Excelsior, Faunel, Glorium, Rigus, Sylvania– Infinite unlikelihood error: data collision in multiple space-time scenarios. Please identify the correct reality before proceeding.”
Zaythir will examine the mimir and reinforce that the mimir’s memories need to be realigned, specifically by reporting the data from past experiences in those locales and establishing a “true” timeline. This is similar to the information Tripicus would have given them if the characters interacted with him, but at this juncture in the adventure it is absolutely critical that the characters learn this.
From here the Outlands are wide open for the characters to continue their quest.