Chapter 15, Part 2: Concluding Echoes of Delusion
The epic finale.
The final confrontation in any D&D campaign should be memorable—a crescendo that brings together narrative threads, tests the heroes' mettle, and provides satisfying closure. Unfortunately, the climactic battle in Turn of Fortune's Wheel falls short in its original form. Let's transform this encounter into something truly worthy of your campaign's finale.
The Problem with the Original
The adventure's conclusion involves confronting an disconnected mega-monster and potentially restoring the Outlands by using character recordings—a mechanic that wasn't properly established as crucial throughout the adventure. The battle map is underwhelming, the final fight lacks dramatic tension, and player agency feels limited in determining the Outlands' fate.
The Tenth Lord
We've already fixed the central issue with the adventure by setting up Gargauth, the big bad, the crux of their woes. Here they have the chance to finally set things right and reverse the damage inflicted on the Outlands.
Here's what we can do to make this ecounter deserving of a campaign closer:
- Inject more mystique and build up to a crescendo
- Create an epic final showdown
- Give the characters choice in the fate of the Outlands
T6: Setting the Stage with X01's Throng
First, let's create a more evocative entrance to the final area:
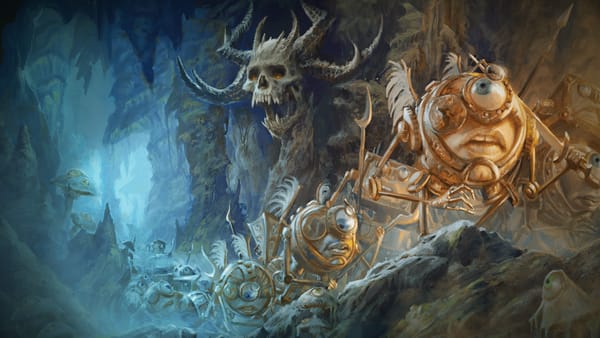
The modrons press forward into an enormous cavern. At the head of the column, the eyestalks part for a quartet of gear-studded modrons. An elaborately constructed modron with one prominent eye is hoisted upon their shoulders.
The modrons leading the throng look damaged from within. Jagged horns erupt from their metal bodies. Their appendages ripple with sinew and exposed muscle, ending in deadly metal claws. Slitted eyes gaze blankly as they robotically chant, "All hail the Hidden Lord, he who will deliver us. Come Lord, and bring order to chaos. The lawless will know the quiet of your judgement. The penitent will know the peace of your rule. All hail the Hidden Lord..."
As the characters approach, colored gases in the chamber warp into images of a horned devil in flowing robes, welcoming the modrons with open arms—the weakened manifestation of Gargauth himself. He is here.
The Final Temptation
When the characters approach, X01 speaks with Gargauth's voice while ghostly images formed from the gasses alternate between illustrations of his words and fragments of the archdevil's eyes and mouth. This is Gargauth's final attempt to convince the characters to aid his ascension:
- Gargauth is on the verge of returning to corporeal form, powered by the modrons' collective faith
- X01 and the lead modrons are undergoing metamorphosis to become his captains in the war for the Outlands
- He offers the characters first choice as his generals—demigods with vast domains of their choosing
Gargauth is a master manipulator who knows the characters well. He will appeal to their deepest desires. He'll appeal to their deepest desires, focusing on how his ascension could help them with their individual desires: breaking warlock contracts, saving loved ones, etc. Barring that he will tempt them with greater power than they could ever imagine.
A DC 25 Wisdom (Insight) check will reveal that Gargauth is afraid of the characters. They're the only ones with the knowledge and ability to stop him when he's so close to his goal.
If the characters refuse him, threaten to stop him, or approach X01 he goes on the assault. He has no choice left but to destroy them.
The Battle Begins
Let's reshape this final encounter into two distinct phases. We also need to make tactical adjustments for this to hit a satisfying high note.
Improving the Battlefield
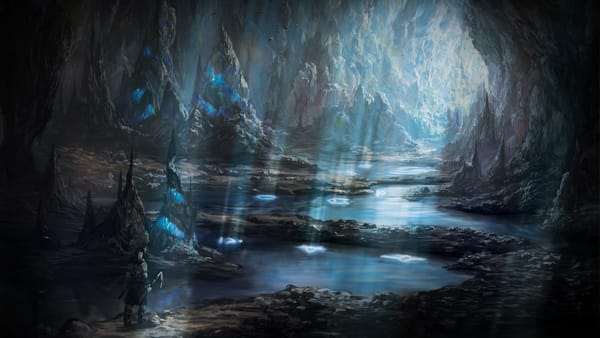
Replace the original map with something larger and more tactically interesting. The battlefield should include some of the following:
- Elevation changes
- Areas of cover
- Hazardous terrain features
- Multiple approach vectors
These maps provide a variety of tactical challenges and ambiance for this encounter:
• Lair of the Many Eyed God - Cult by Czepeku
• Crumbling Platform - Cave by Czepeku
• Underdark Set by Party of Two
• Gate of the Watcher by Stained Karbon Maps
• Beneath the Stomach by Raakdos (Free)
Eye of the Beholder. For added complexity if the characters failed to offer anything to Gzemnid in T5: Gzemnid's Maw employ a Lair Action from Gzemnid.
On initiative count 20 roll a d10 on the Beholder's Eye Ray list. One of the stalks on the ground gazes out and hits a character with that effect. Mark where the stalk is on the map. Create no more than ten stalks. Each stalk has an AC of 15 and 20 hit points, and if they are all destroyed then Gzemnid is no longer able to deploy this lair action. The stalks will target characters seeking strategic advantage away from the main fight. Gzemnid will taunt the characters when he unleashes these attacks.
Phase One: The Corrupted Modrons
When negotiations break down, X01 and the septon modrons twist and glitch horrifically. They scream with the fury of countless voices as the septons descend on the characters while X01 shouts orders in Gargauth's voice.
X01 remains prone during this phase, writhing with necrotic energy arcing between his horns, using only Counter Magic or Lightning Rebuke Reactions if directly targeted. The character with the highest passive Insight will realize that X01 has a vice like grip on the minds of the other modrons and is fully possessed by Gargauth.
Tactical Entreat. If a character uses an action to sway X01, they must succeed on a DC 18 Charisma (Persuasion) check in order to reach him from the recesses of his mind. A success gives the other modrons disadvantage on attack rolls and saving throws until the start of the character's next turn.
Phase Two: Gargauth's Avatar
Once the septon modrons fall, Gargauth accelerates his transformation:
X01 shrieks, "SKRRREEEEEEAAAAAUUUURRHHHH–". The long distorted sound echoes in the cavern as the body falls limp. There's a long pause as everyone catches their breath.
Then an arm twitches. The blasted remains of the guardian modrons slowly lift into the air. Stone rises around you. There's a rumble, then the sound of something breaking reality itself. Like a hundred portals ripping open all at once.
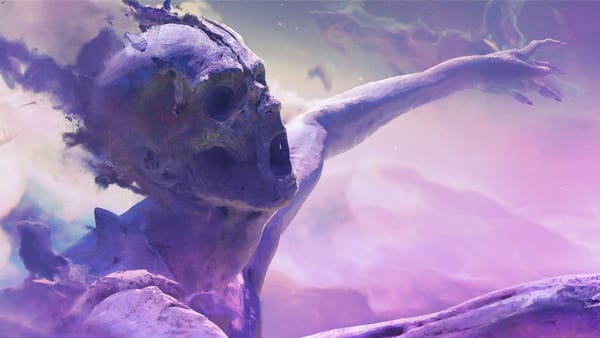
The space above X01 rips open in flashes of pink and purple light. The bodies of fallen modrons shred apart and coalesce, joining with the stone. Darkness itself seems to collapse into a black hole being birthed in front of you. Something emerges from the roiling cloud: the shape of two horns, one broken, above eyes gleaming with hate and a mouth of serrated metal. It screams, shaking the foundations of this realm as it rushes toward you!
Use the planar incarnate (fiend form) for the stats of Gargauth's half-formed avatar.
Dynamic Battlefield. When the avatar uses its Slam attack, that 5'×5' square becomes an area of torn reality flickering with hellish flame until the start of Gargauth's next turn. This area counts as difficult terrain, and any creature entering it for the first time or ending its turn there must make a DC 20 Wisdom save or take 3d10 fire damage. This prevents static positioning and makes the battle more dynamic.
Remember that the avatar does double damage to objects and structures, so it won't hesitate to smash through cover to reach characters.
Reactivating X01
After defeat, Gargauth disintegrates into thousands of pieces that shred apart and vanish as if they never existed. X01's body lies on the ground with the last necrotic wisps of Gargauth's essence trailing from it.
Characters proficient in Arcana or Medicine can determine that X01 is the key to the power of belief that Gargauth harnessed. If X01's memories were corrected, the modrons would disseminate that information, and their collective belief would manifest it as reality. The mosaic mimir is the perfect vessel for implanting correct memories.
The characters should realize their experiences will become defacto reality before they implant the mimir. If they don't come to this conclusion on their own, this is a perfect moment for Gzemnid to tempt them to use this power for their own ends—to wield the very power that Gargauth sought.
If the characters hesitate, Gzemnid grows impatient, causing the cavern to rumble and shake and creating a ticking clock scenario that forces them to act.
When the mimir is finally installed in X01, they emit glitchy noises and twitch spasmodically. Their eye closes, then blinks open—no longer slitted. They rise and declare, "You have identified the correct reality. Multiversal realignment in progress." The knowledge ripples through the modron ranks, freeing them from the fallen archdevil's influence.
Realignment
After a few moments of the modrons correcting their mistaken beliefs, X01 addresses the characters.
"The Hidden Lord was correct. You are the bringers of our salvation. Now we must return to Mechanus and report to Primus."
This could lead to a socially awkward conversation with the rigid modron, but when the characters are done the modrons prepare to return to Mechanus and report to Primus.
If you feel there is more challenge to be mined from the climax run one the Escaping Tyrant's Spiral section. Otherwise you can have X01 gather the modrons and march out of Tyrant's Spiral they way the characters came through.
Epilogue: The Lady's Gift
The adventure concludes with the Lady of Pain's gesture of acknowledgement—a Cubic Gate. Key it to places meaningful to the characters: a location from their backstory, a favorite place from the adventure, or somewhere that will lead to their next adventure.
This ending shows that despite the vastness of the uncaring multiverse, the characters' actions struck a note of cosmic importance. They discovered who they truly are and proved they are not bound to the errors of their past actions. Whether they saved every soul they could or bent events to their own ends, they are heroes of a different kind—but heroes nonetheless.
