Chapter 15, Part 1: Echoes of Delusion
The characters have triumphed over Shemeshka and unlocked their true selves. Now they must halt Gargauth's ascension before he wreaks havoc across the Outlands and beyond.
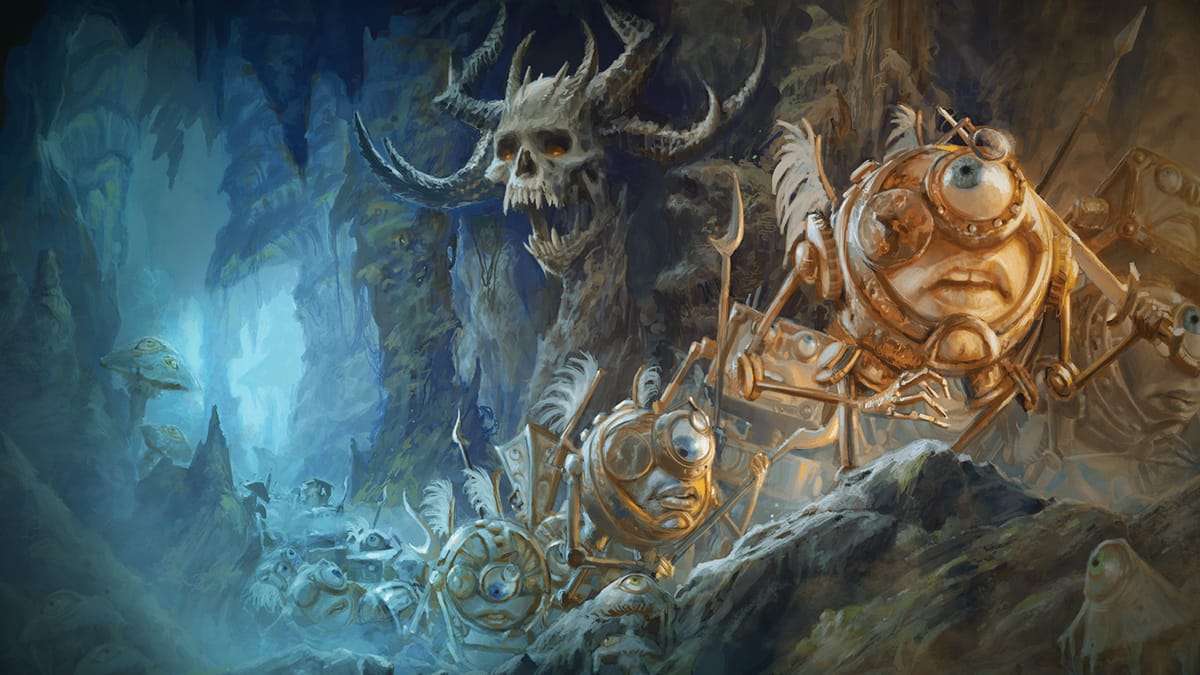
Back to the Beginning
The characters will remember everything they did for Shemeshka to get them to this point. The thing that's most relevant to Tyrant's Spiral is that they are the ones–specifically the arcanist character–who convinced X01 and the modrons that they were demigods send by the Hidden Lord. Here's what they now remember:
- The arcanist used a 9th-level Mass Suggestion to make the lost modrons believe Gargauth would liberate them from their eternal march
- The modrons believe the characters are demigod Champions of the Hidden Lord
- X01 and his lieutenants spread this belief to all of the modrons lost in Tyrant's Spiral
- The characters were betrayed and initially consumed by Gzemnid
- The power of their belief is what kept the incarnations returning over and over
Closing the Loop
With memories and powers restored, the characters know where the modrons are trapped and how to reach Tyrant's Spiral. This is an opportunity to resolve personal quests before the finale, but maintain urgency. If they delay too long, have R04M, Zaythir, or a knowledgeable Sigil NPC warn them: the longer X01 and the modrons remain corrupted, the more permanent the damage to reality becomes, risking the characters losing themselves again.
Tyrant's Spiral
Once the characters are in Tyrant's Spiral, emphasize the chaos. Beyond the strange gases and fungal observers, describe tears in reality–places where the fabric of existence visibly frays. Through these tears, they see alternative versions of themselves or events from their restored memories. The deeper they go, the more frequent and disturbing these tears become.
The March
Rather than treating the modron march as a static environmental hazard, make it dynamic and interactive:
- When characters first arrive, show only tracks with no modrons present
- As they progress through each encounter, reveal signs they're getting closer
- At Arlgolcheir's Morass, let them witness the tail end of the march trampling the demon lord's remains
If characters interact with individual modrons, have them recognize the "Champions sent by the Tenth Lord" and greet them fervently. The modrons will insist they never lost faith, even after all this time. When asked questions, they'll direct characters to X01, concerned only with fulfilling the Hidden Lord's promises. Portray them as complete fanatics, brainwashed by the characters' earlier meddling.
T1: The Lair of the Eye
Xabash provides a perfect introduction to Tyrant's Spiral's dangers. Have him recognize the characters: "You again? The ones who pursue those ever-marching shape creatures... you failed before, you'll fail again." Engineer the situation so he summons giant eyestalks, and for dramatic effect, have him visibly glitch before calling on Gzemnid to devour him.
T2: Beherit's Head
In D&D lore, Beherit was Gargauth's closest ally—an archdevil slain by Asmodeus for breaking restrictions on devil advancement. Rather than simply wanting to return to the Hells, let's reframe his motive.
Beherit is here because Gargauth needs allies once he takes over the Hells. Who better than his steadfast friend from ages past? For Beherit, Gargauth represents his chance to become an archdevil again. Beherit keeps the modrons in line, subjecting any showing signs of dissension to domination, bringing them back in line or disposing of them.
When engaged, Beherit will try to charm characters into abandoning their efforts. If he successfully charms a character, secretly instruct that player to turn on the party at a critical moment.
T3: Ocular Space
This encounter maintains the flavor of the realm while pacing out the adventure. Two beholders are manageable for high-tier characters, allowing them to feel powerful while dispatching iconic foes. If characters engage, add touches of the reality glitch affecting the beholders or the petrified corpses around them.
Here the characters should hear audible sounds of the nearby modrons, indicating they are hot on their tail.
T4: Arlgolcheir's Morass
Here the characters should see the modrons trudging through the demon lord's remains. Shemeshka deposited him here to terrorize the modrons and provide an endless supply of fiend's ichor for enchanting the celestial weapons.
Arlgolcheir recognizes the characters and tries leveraging their desire for knowledge or advantage over Gargauth in order to strike a deal. If the characters met Raachaak in Sylvania Arlglcheir uses that relationship to play on their sympathies.
Characters can restore him by using a Greater Restoration or Remove Curse spell or spell-like effect. Alternatively, they can capture a marching modron and hold them in the morass for three rounds, after which Arlgolcheir devours their essence and reincorporates as a lich. Either way, he will betray the characters at the earliest opportunity.
T5: Gzemnid's Maw
This encounter is memorable because the characters get the opportunity to interact with a god. A chaotic, lesser god of beholders, but a god nonetheless. There is great potential here, so let's make sure we nail it.
Have modrons escort characters from Arlgolcheir's Morass through winding tunnels. Eager to fulfill the "prophecy of the Hidden Lord," they offer to carry the characters forward. At the teeth-lined chasm with no apparent crossing, modrons begin laying down to form a living bridge. Use nonaton modrons as the highest-ranking point of contact in this troupe.
As the bridge forms, strange gases rise and Gzemnid's voice echoes in their minds. He demands a secret or offering (the characters themselves or some modrons) as tribute. He accepts secrets from the Scholar (from Chapter 13), or powerful spell scrolls or spellbook pages (removing them from the character's known spells). Gzemnid reminds them he devoured them before, shaping gases into illusory images to illustrate his point. If characters refuse, he lets them pass but devours the modron bridge after they cross.
Gzemnid agreed to Shemeshka and Gargauth's deal because he's dealt with fiends before. As an evil god living in the Outlands, he must walk a line lest his realm be pulled into an aligned Outer Plane. However, he's not above killing the characters again or seeking leverage through secrets. He’s fascinated by the characters return from obliteration and is biding his time to see how everything plays out with the modrons, Gargauth, and these obviously powerful characters.
Once past this challenge, the characters will arrive at the final showdown.
