Chapter 13: Secrets of the Spire
The Spire is a great location to wrap up the Outlands scenarios. There’s a few things we can do to better integrate it into the adventure's plot and make it more evocative for the players.
Objectives
The reward for this leg of the journey is unlocking the mosaic mimir completely. Once R04M fills in the missing details the characters should become aware of the entirety of Gargauth and Shemeshka’s plot. They will realized they helped the plan to restore the devil as an Archfiend, take over huge swaths of the Outlands, and invade the Hells.
That’s a fantastic payoff, but we need a little more motivation to hook the players into investigating the Spire. Simply following the last leg of Last Great Modron March is a bit thin and convenient. The characters should still discover information about the March so that they are aware of the why and who of the missing modrons, but let’s create a stronger lead.
Leading a Horse to Water
As we get further into the adventure the web of connections between gate towns grows larger. Add in NPC encounters, character motivations, and backstories, and we end up with a big mess of interesting plot. Now we need a funnel to get the characters to the endgame.
I’m of the personal opinion that these kinds of leads are best tailored to the emergent story that comes from the role play and encounters, but our main device here is Ascetelis. She's a Planar investigator aware of the multiversal glitch and actively hunting down the root cause. Why would she simply wait in Dendradis?
Instead craft a hook that fits into the characters’ narrative where Ascetelis is pursuing them. Did your party parlay with Beltha and from an uneasy truce? Are they heroes of Glorium with their names ringing out in tavern song? Perhaps they are wanted for aiding and abetting criminals breaking out of Curst? Find a hook where Ascetelis will pick up on a clue to track them down.
The way this plays out is the characters should hear of a disturbance caused by Ascetelis’s intervention: Beltha’s crew getting taken down, leaders of Glorium taken in for questioning, a Demodand from Carceri tracking the characters, etc. Ascetelis can be directly involved or the disturbance can lead to an encounter with the detective. If all else fails or the hook isn’t strong enough Ascetelis can directly seek out the characters wherever they land.
Mismatched Modron
Of course Ascetelis still has the characters’ names secretly written on her list. She tells them R04M is a rogue modron, believed to be part of the last Modron March gone awry. There are multiversal anomalies erupting, particularly in Dendradis. She thinks this modron (and the party) is the cause. As arbiters of equilibrium, the rilmani must correct this.
R04M recently showed up in Dendradis in search of the characters. The modron slipped away and fled into the Spire before she had pieced everything together. She needs the characters’ help in tracking him down and correcting the anomalies. This last part is true, even if it’s her intention to eliminate them along with R04M.
Dendradis
The journey into Dendradis is great out the box. If Ascetelis is with them the characters have no problems getting through the gate. If you’ve setup a hook that leads the characters there it works as written.
Here’s some flavor I’m tacking on to the approach:
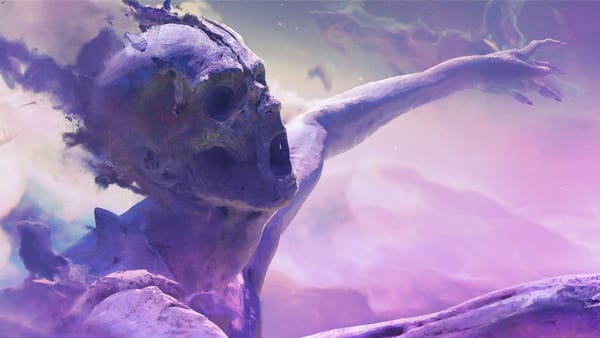
You stare at the fossilized body, pondering the immensity of a being that towers larger than any creation you’ve ever seen. The light glaring off of the spire wavers and flares with a pinkish-purple tinge. Suddenly the body is in a different position–as if clawing out from a prison. Everything flickers and the body is in a state of deathly repose. One more flash, and it’s back to the position you first saw it in, arms outstretched.
This should help ratchet up the intensity of the glitch before the characters head into the Spire. Once inside Ascetelis should lead the characters to the plumachs or the place where R04M was last seen.
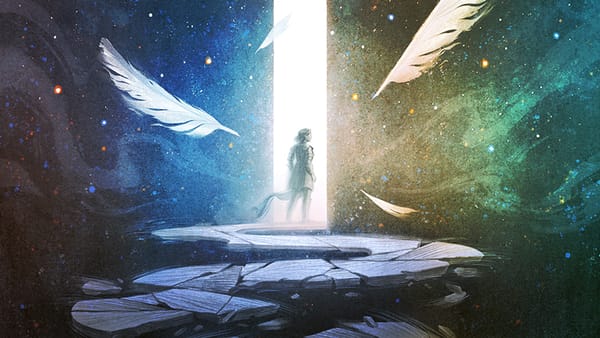
Spire Mysteries
The Spire is an evocative place that should feel alien at all times. Here’s some things that can help connect the strange events to the glitch.
Desert of Rust
Some of the objects that fall into the desert are recognizable: objects from the characters’ other incarnations, things tied to their past, weapons of fallen foes, etc. When the characters pick them up the object glitches, changing into a different, similar object before turning into a degraded and rusted version of itself.
If the characters fail their Survival check to find R04M have them wander for an hour before finding their own tracks. They see a ghostly echo of themself pick up a fallen object they previously ran across then continue in the same direction. The echo steps into the footprints before fading away. Then present an alternate path through the dunes. If they take it they can make another Survival check to pick up R04M’s trail.
The Whisker
This encounter has the potential to be a TPK or take a character out completely. The “plummeting until rescued” bit is confusing since there’s no explanation or mechanic for how they can be rescued. If you have multiple incarnations available insta-death would be better.
If someone (or everyone!) falls, wait for a few dramatic moments then narrate another glitch:
You fall, the darkness quietly whistling past. Soon all light is gone and you wait for a violent impact that never comes. The darkness ripples around you and you hear the thrum of blood beating in your ears. You blink and you stand at the lip of the intact metal bridge. You see a shimmering echo of yourself crossing the span, approaching the point where you fell.
Give the characters a DC 15 Dexterity (Acrobatics) check to get across the bridge before the collapse repeats itself. They could also wait for the bridge to collapse again and find an alternate way across the chasm.
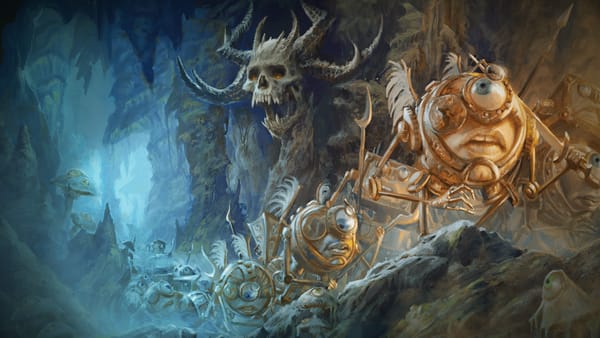
Tomb of the Frog
This encounter is weird and memorable, but it is a bit random. Let’s add some interesting backstory in case the characters do end up talking with this character.
- First off, he did see a being of metal trundle past not too long ago. He can point the way toward R04M’s last path, but he has no understanding or perception of time.
- He knows the worshipers who revered him were seen as lesser beings among the humanoids. The characters can piece together that they were mostly bullywugs.
- He once had a domain in the Outlands, but Semuanya’s followers drove him away.
- Being reduced to less than a demi-god, there were vile magic wielders in Sigil that attempted to summon him into the city.
- He made it into the city but possessed enough divinity to garner the Lady of Pain’s attention.
- The last thing he remembers is an endless maze of streets. When he found his way out it was a portal to a desert of rust. His followers had forgotten him and he was much diminished. He wandered these caves for a while, but he needed a rest, closed his eyes, and awoke just now. Or maybe years ago. Time is...stretchy.
The Scholar
What a great NPC we have here. It would be a shame if he was just bypassed. Make sure he has enough interaction with the PCs to draw them into the conversation. The Scholar should know and have met some of the other incarnations. He knows of Gargauth’s ascent through his mystical research and can provide some details, outside of Shemeshka’s involvement. Save that one for R04M.
The one thing that’s worth exploring is making the Secrets of Eternity an exchange. If a character accepts a secret, the Scholar will share information that the characters seek. The secrets described are great. If you want to setup the Vecna adventure for your players, lean on the Whispered One secret. Otherwise you can use that one to herald the rise of Gargauth.
I would also change a couple of details and have the Scholar tell the characters that R04M was “taken by the darkness” and brought past its crag. Make the climb to get R04M stretch for a long time so that the Scholar and the darkweaver aren’t such close neighbors.
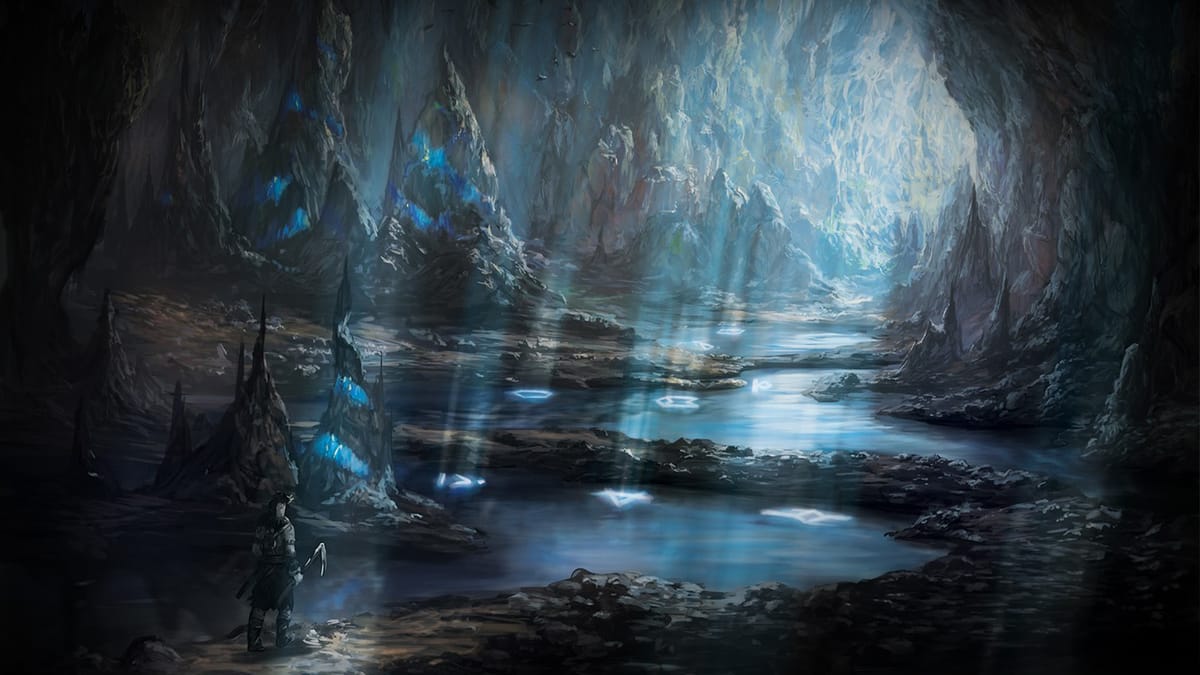
The Ravenous Darkness
The final encounter with the darkweaver has the potential to be a challenging and rewarding fight. As presented it's a bit too straightforward for such a terrifying foe. The darkweaver should be hidden in the webs when the characters first enter the ledge. They should see the four cocoons. The one with R04M wriggles, but the entire web quivers with the motion. It requires a DC 18 Wisdom (Perception) check to determine which cocoon is moving. Remember that checks made with Darkvision are made at disadvantage.
Once the characters make a move the darkweaver will spring into combat, attempting to grapple and drag characters away. This should be a highly tactical encounter. If you need some inspiration on how to run these kinds of strikers, look to The Monsters Know What They're Doing for a great breakdown.
R04M, Finally
Once R04M is freed he can fill in the blanks on the characters' story and fully restore the mosaic mimir's memories. The big difference in the story is that he trekked around the Outlands looking for the characters, rather than trying to complete the march. He still thinks the characters are godlike heroes, destined to lead the modrons out of their forsaken march.
Just make sure to hammer home that the lost modrons are praising the Hidden Lord, Lord of the Tenth, Gargauth, hoping for deliverance. R04M has turned sour on this so-called Lord, so there shouldn't be any conflict with the characters taking Gargauth down. The big mystery at this point should be why is Shemeshka involved and where are the other modrons.